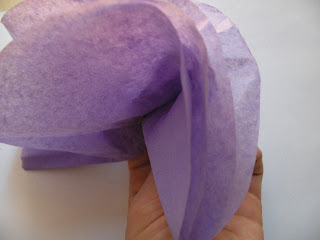
 I currently have a project underway that requires tissue flowers. You'll find out more about that Friday. But for now, I thought I would share how to make tissue flowers. I know there's many ways to make them but this technique seems to work best.
I had planned to show a flower I made with the accordion fold method (for comparison) but my son got to it first. He was dipping it in his juice and pretending it was peeing. Apparently he has my creative spirit.
Supplies
tissue paper - any color
scissors
tape or florist tape

Cut two layers of tissue paper into a circle. My circle is about 8 inches in diameter but any size should do.

With both layers together, fold in half.

Fold tissue over (refer to picture) and pinch at the bottom.

Still holding the flower at the bottom, separate the layers at the top of the flower (refer to picture).

Begin to roll the flower in the same direction you made the first fold. Make sure to keep the fold loose.

Once it's rolled into the flower shape, fold back the outer layer to resemble a flower. To get the shape you want, it might take a little finessing. Just remember it's an organic shape so you really can't go wrong.

Tape the bottom of the flower so it does not unravel. Done.
No comments:
Post a Comment